I don’t know why they are called frogs. There’s a whole Wiki page devoted to the subject that is largely inconclusive. You can bet the French didn’t name them that – haha (the french word is actually talon, meaning heel). The purpose of the frog is to hold the hair and allow for the tension to be adjusted. It is also very important to the weight and balance of the bow.
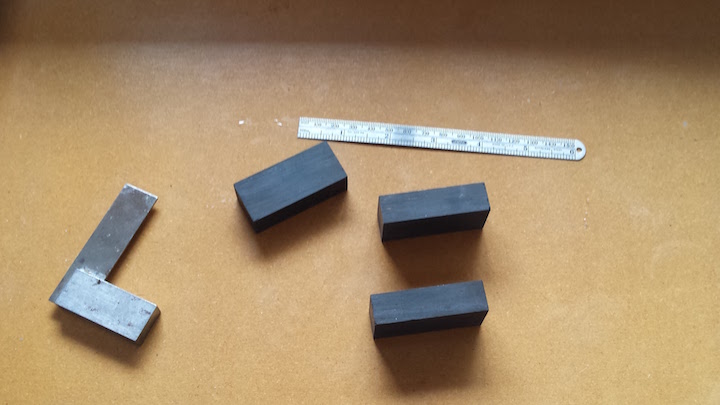
The first step is to prepare a rectangular block from the ebony. I have a lifetime supply of beautiful black Cambodian ebony that I purchased back in the 90’s. It is very dense and works very nicely. The photo below is of the frog blanks brought to dimension.
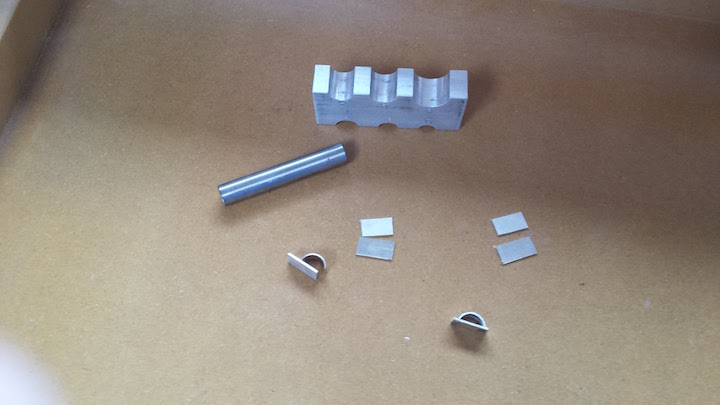
The next step is to make the ferrules. The ferrule, an innovation developed by Francois Tourte, is meant to hold the hair in a nice thin flat ribbon. To make it I simply cut some rectangles of silver, bend one into a half-round shape and then solder them together.
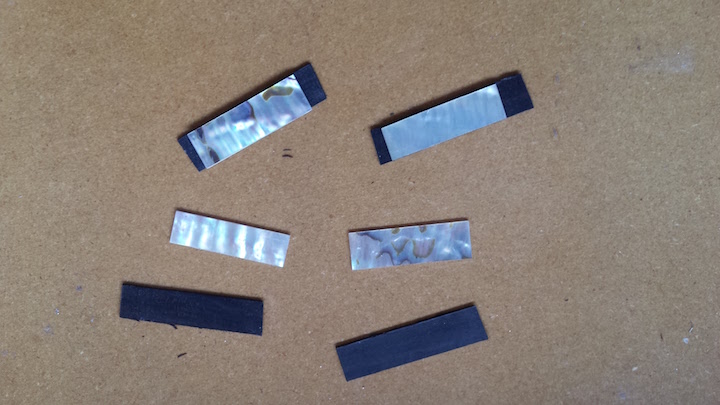
The next step is to make some slides out of ebony and shell. The purpose of the slide is to cover the hair and the plug that are placed inside the frog during the hairing procedure. A thin strip of abalone shell is glued to a thin strip of ebony to form the slide.
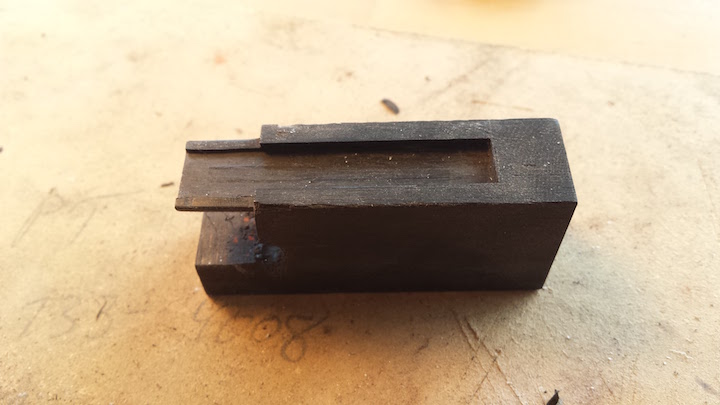
The next step is to cut a tongue for the ferrule and a channel for the slide. These have to be cut to very precise dimensions so that the fit of the ferrule and the slide is nice and tight. This is a very painstaking operation. The picture below is of a frog with the tongue for the ferrule cut as well as the slide channel. You can’t really tell from this picture but there is a 15 degree angle cut in the rails of the slide channel.
The same 15 degree angle is filed on the sides of the slide blank so that it fits perfectly into the channel.
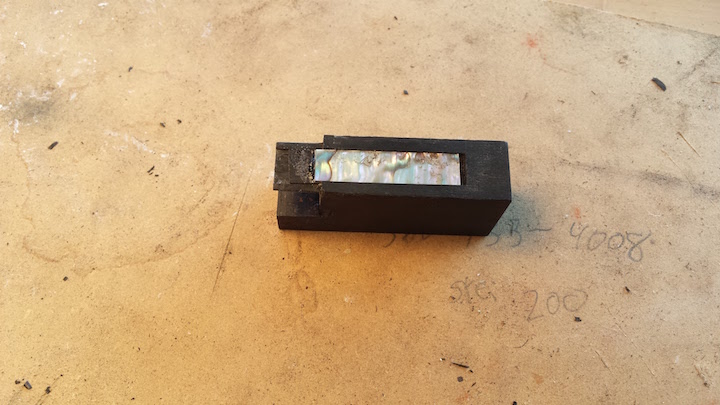
The next steps are to cut the hair channel and mortice for the hair plug and to fit some decorative silver onto the back of the frog.
