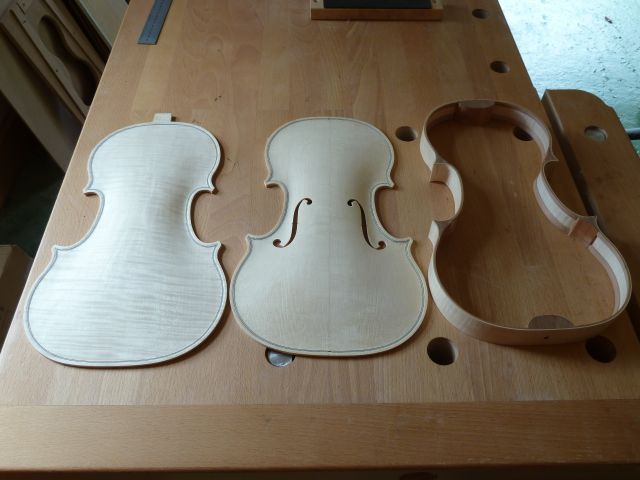
We are on the home stretch! With all of the pieces done, we can start putting it all together.
The first step is to remove the rib assembly from the form. This is always a really scary step for me. I’ve never had a problem but the rib assembly seems so fragile and you really have to stretch it out to get it off of the form. But, if you take your time and go slowly it finally just pops off. It really is an amazing piece of engineering!
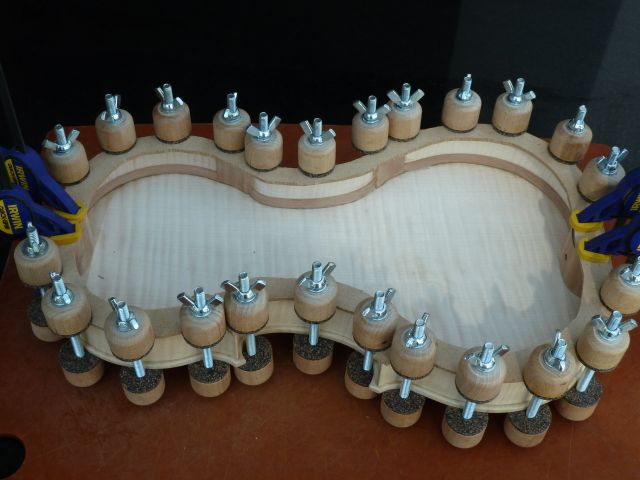
With the form removed, we clean up the the blocks and linings and glue on the back.
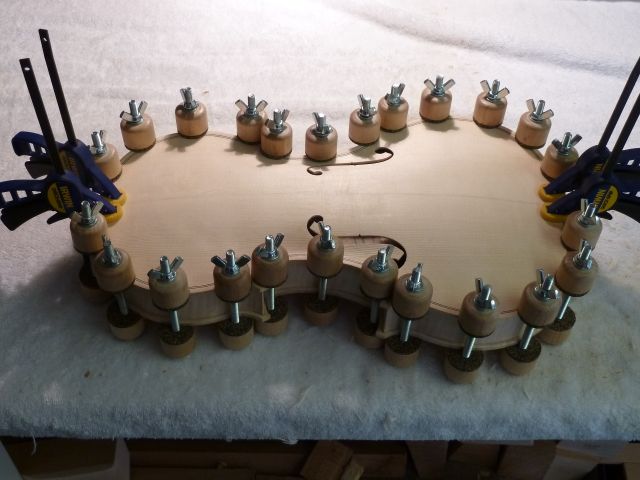
Next we put a makers label in it and glue the top on. We have a corpus!
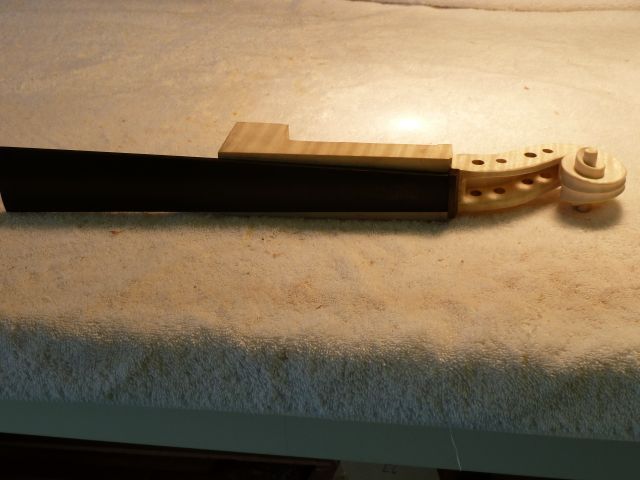
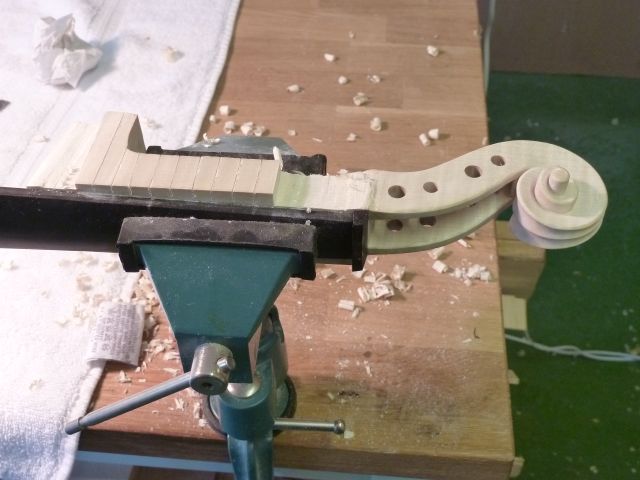
With the corpus finished we turn to the neck. I have blogged before about carving the scroll. So I will pick up this time where I glue on the fingerboard and nut.
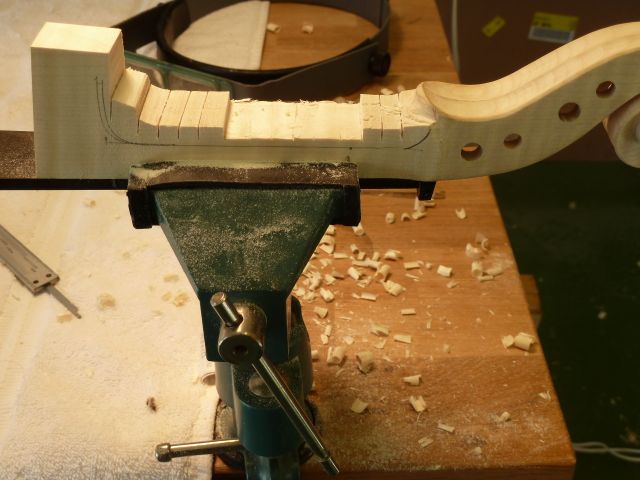
The next step is to remove the waste-wood and form the neck root (the part furthest away from the scroll that gets let into the body).
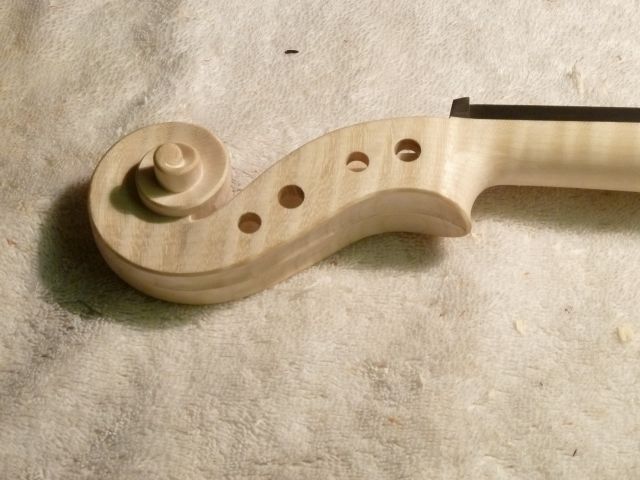
Finally, before we install the neck, we can form the chin and blend it into the scroll and the shape of the neck. The area around the neck root and the button must wait until after the neck is installed.
We are ready to install the neck!

