Maria -The Stick (getting hair on it)

With the sticks bent, the goal now is to get them ready to accept hair. This involves cleaning up the facets, mounting the frog and preparing the head.

The first step is cleaning up the facets. One of the sticks actually twisted about 5 degrees during bending so those facets will have to be re-cut (this is why we leave a little extra wood on the stick). Next the bottom 3 facets need to be brought to a nearly finished condition. They will need to perfectly accept the frog and be as close to the size of the facets on the button as possible.

With the bottom 3 facets cleaned up, we drill a hole for the button screw and cut a mortise for the frog eyelet to ride in. The frog can now be installed on the stick.
Mortise
Mortise

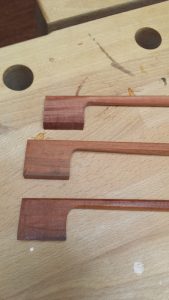
Next, the outline of the head needs to be drawn and cut. The bottom of the head needs to be lined up parallel to the bottom of the frog and then the bone tip glued on. Finally the shape of the head needs to be roughed in and the mortise for the hair in the head needs to be cut.

Ready for Hair
Ready for Hair

The bottom stick is ready for hair. I need to leave it here and put hair on just the one and go back to New York so Maria can try it.
Head
Head
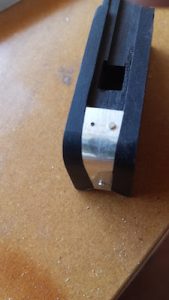
Frog
Frog

Haired and ready to go! I don’t have a cello here but I played a violin with this bow. It has a really big sound! Hope Maria agrees.



Maria – The Stick (Uh-Oh)

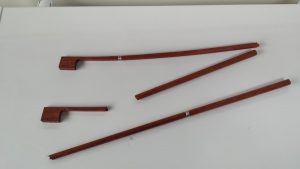
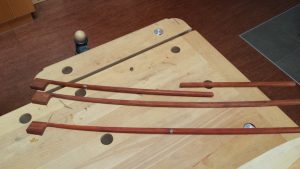
Well, I guess I spoke too soon. Two of the sticks bent beautifully. The third one, not so much. All was going well and then, CRUNCH!

Broken and Bent
Broken and Bent

Too bad to. I really liked this wood. I liked it so much in fact that I quickly roughed out another blank from this board and bent it. CRUNCH!

Broken
Broken

If you look carefully at the break you can see it broke all in one small place. Breaks usually run along the grain for some distance. Also, notice the breaks were not in areas that I was concerned about. Those areas that are wrapped with metal wire are areas of little imperfections that might be a problem during bending. I wrap them to give them a little extra support. There must have been some unseen flaw in the board.

At any rate, I have to go back to the New York area soon and I want to have hair on at least one of these sticks so I can have Maria try it out while I am there so I have to move on. I’ll try another blank from this board when I get back.


Maria – The Stick (part 2)

With the blanks cut out, the next task is to get them ready for bending. The goal is to be as efficient as possible at this task because it is not to hard to break a stick during the bending and you don’t want to have too much time invested in a broken stick. I was told during my training that the breakage rate is some where around 20%. I have actually never broken a stick myself. Perhaps I am just lucky or maybe I just happen to have good wood.

To prepare for bending the back two thirds of the stick is brought down to 2 mm above final dimension and the front one third is tapered down so that just behind the head it is 1 mm above final dimension. The side angle of the head (about 6 degrees) is also formed. The whole stick is made octagonal at this time as well. The reason for the extra wood towards the back is that the sticks tend to twist as they are bent. The extra wood allows for the facets to be re-cut if they twist.

The next step is to layout the shape of the head on the stick and to very accurately carve the throat (or back of the head).

Ready To Bend
Ready To Bend

The last step is to carefully clean up the bottom 3 facets and to bind with wire any areas that look like they have potential to break during the bending process.

We are now ready to bend. Fingers crossed!


Maria – The Stick (part 1)

With the frogs brought to a semi-finished state, we now turn our attention to the stick. Bows are predominately made from pernambuco. This wood is from the state of Pernambuco in Brazil. Pernambuco is a knarly nasty wood with short curly fibers and a high lignin content. It is the perfect wood for bows. Other woods have been tried with inferior results. Due to over-harvesting, Brazil banned the export of pernambuco. Fortunately I was able to purchase a lifetime supply before the ban. The wood I have was harvested in the 1940’s and the 1970’s so it is well seasoned and makes quite nice bows.

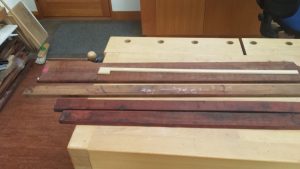
The first step is to select the wood. I measured the speed of sound through all of my wood when I bought it. For this commission I want to select several different speeds so I can be sure to end up with a bow that matches Maria’s instrument. These boards range from 5300 to 5600 feet per second.

Boards
Boards

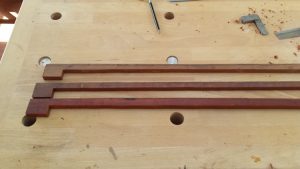
With the boards selected, I use a template to lay out the blanks. I need to be careful to get as much of the grain to align lengthwise through the blank and to avoid knots and defects (of which there are plenty in pernambuco).

Blanks
Blanks

I use a bandsaw to cut out the blanks. I am now ready shape the blanks and get them ready for bending.


Maria – The Frog (part4)

I’ve been working and not blogging so I will just pick up where I left off.

The pinning silver arrived quite quickly so I proceeded with pinning the silver parts to the wood. With modern glues I don’t know that this is even necessary anymore but it is traditional so I still do it. The idea is that you drill a little pilot hole (1 mm) through the silver and into the ebony and make a little silver nail out of 1 mm half-hard silver wire. You drive this nail into the frog and file off the little protrusion that is left.

Pinning the silver
Pinning the silver

After all of the silver parts are pinned to the frog, the next step is to rough-in the shape. I gouge out the curve in the cheeks and roughly carve in the thumb notch.

Rough-in the shape
Rough-in the shape

I will set the frogs aside now. I like to finish the shape and install the pearl eyes after the frog is installed on the stick.

Finally, we now move on to the sticks!


Maria – The Frog (part 3)

The next step in making the frogs is to install the metal under-slide. Three facets of an octagon must be carved into the ebony frog. The bottom 3 facets of the bow will ride in this part of the frog as the hair is tightened and loosened. The frog and the bow stick must match here perfectly. When fitting the frog to the stick I use lots of chalk to adjust the fit so that it is perfect. The more accurate I make this part of the frog, the easier that task will be.

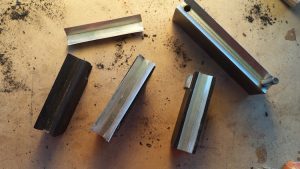
The photo below shows the steps involved. I first cut out rectangles of very thin silver (32 gauge) and form them with a metal form to correspond to 3 facets of and octagon. The purposed of the metal is to provide structural reinforcement for the delicate ebony. This silver plate is then glued into the carved ebony recess and then trimmed and filed flush.

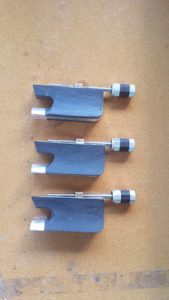
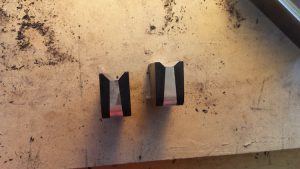
Installation of Under-slides
Under-slides trimmed rear view

The next step is to drill and tap a screw hole for the brass screw that will hold the button. This hole must be perfectly in the center of the bottom facet and in this case 19 mm from the back edge. The photos below show the finished result.

Button screw installed
Under-slides finished

The next steps for the frogs is to pin all of the silver and then shape the frogs to their final shape. I seem to be out of pinning silver so while I wait for new silver to arrive, I will start the sticks.


Maria – The Frog (part 2)

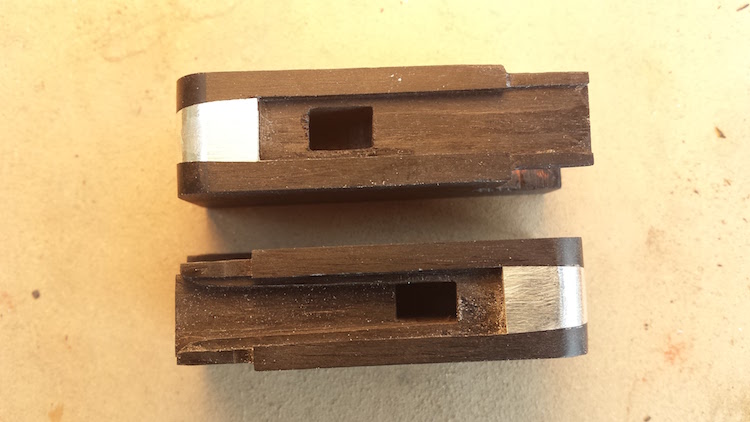
The next part of frog making is to inlay a decorative metal plate into the heel of the frog and to complete the hair plug mortise and hair channel.

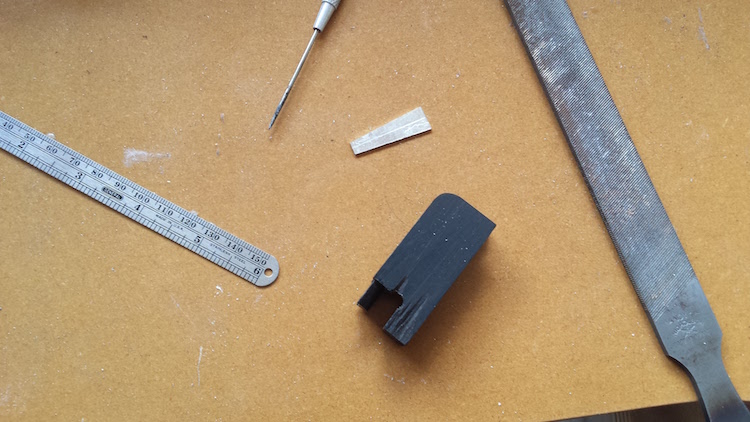
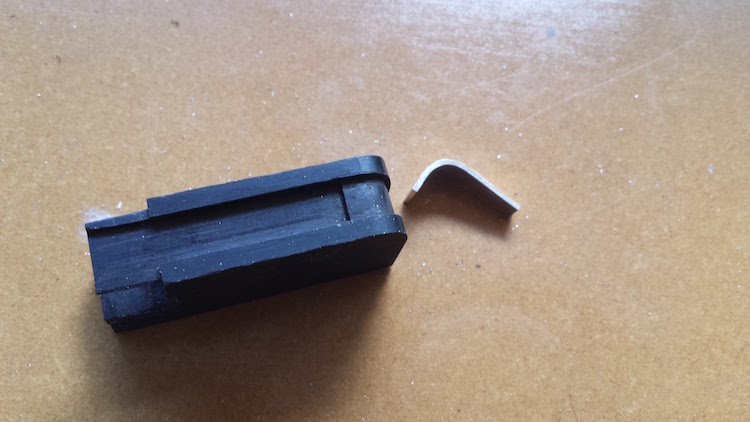
Viola, cello and bass frogs have a radius on the bottom back corner. We must first form this radius with a file and then cut a channel for the metal heel plate. The metal plate is just a trapezoidal shaped piece of silver with the radius bent into it. The critical part of this operation is that the width of the metal at each end must match the mating pieces (the slide on one end and the metal under-slide on the other) exactly. Again, a fairly time consuming operation.

The pictures below show the frog with the radius formed (along with the piece of silver) and the finished channel and the finished bent silver.

Radiused Frog
Radiused Frog
Heel Plate and Channel

After this, a mortise for the hair plug is drilled and then chiseled into a rectangular shape and the channel for the hair is cut out. The picture below illustrates this. One frog has just the mortise cut. the other has the mortise and the channel cut. Also notice the fitted and installed heel plates.

Mortise and Channel
Mortise and Channel

Next, we flip the frog over and install the metal under-slide.


Maria – The Frog (part 1)

I don’t know why they are called frogs. There’s a whole Wiki page devoted to the subject that is largely inconclusive. You can bet the French didn’t name them that – haha (the french word is actually talon, meaning heel). The purpose of the frog is to hold the hair and allow for the tension to be adjusted. It is also very important to the weight and balance of the bow.

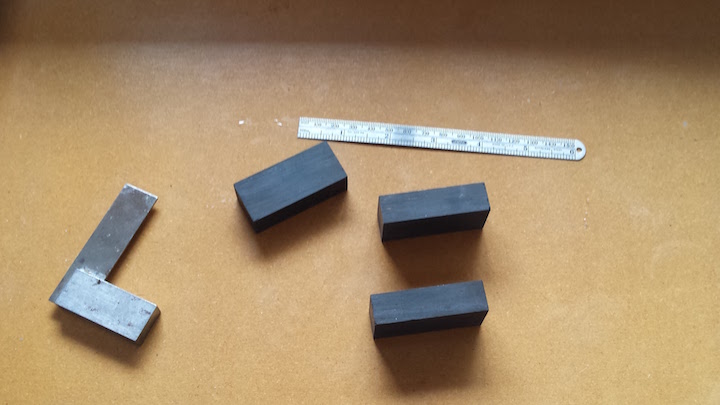
The first step is to prepare a rectangular block from the ebony. I have a lifetime supply of beautiful black Cambodian ebony that I purchased back in the 90’s. It is very dense and works very nicely. The photo below is of the frog blanks brought to dimension.

Frog Blanks
Frog Blanks

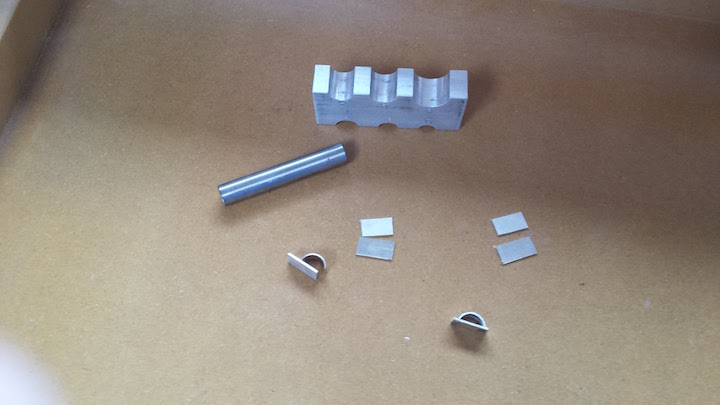
The next step is to make the ferrules. The ferrule, an innovation developed by Francois Tourte, is meant to hold the hair in a nice thin flat ribbon. To make it I simply cut some rectangles of silver, bend one into a half-round shape and then solder them together.

Ferrules
Ferrules

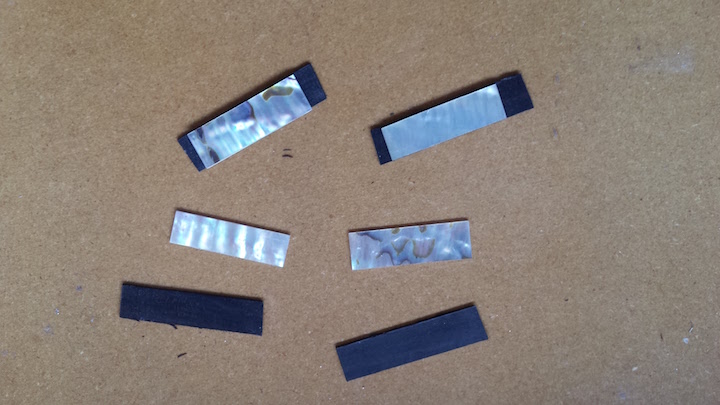
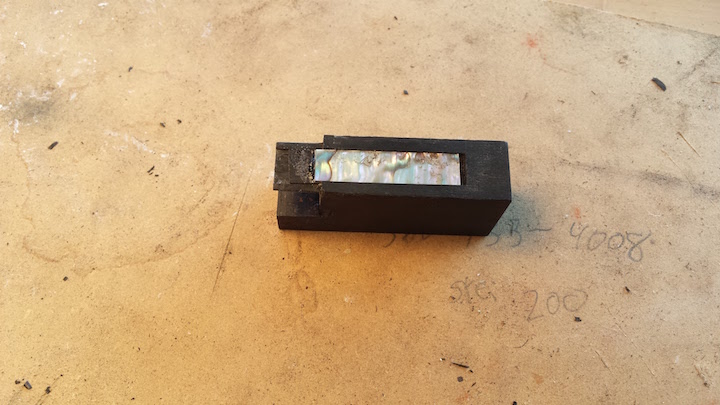
The next step is to make some slides out of ebony and shell. The purpose of the slide is to cover the hair and the plug that are placed inside the frog during the hairing procedure. A thin strip of abalone shell is glued to a thin strip of ebony to form the slide.

Slides
Slides

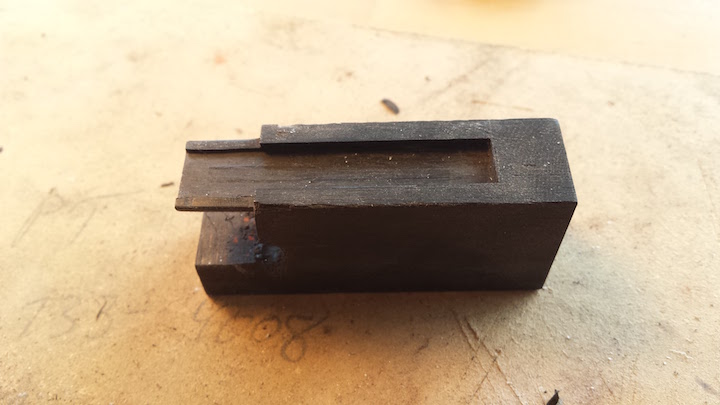
The next step is to cut a tongue for the ferrule and a channel for the slide. These have to be cut to very precise dimensions so that the fit of the ferrule and the slide is nice and tight. This is a very painstaking operation. The picture below is of a frog with the tongue for the ferrule cut as well as the slide channel. You can’t really tell from this picture but there is a 15 degree angle cut in the rails of the slide channel.

Slide Channel
Slide Channel

The same 15 degree angle is filed on the sides of the slide blank so that it fits perfectly into the channel.

Slide Fitted
Slide Fitted

The next steps are to cut the hair channel and mortice for the hair plug and to fit some decorative silver onto the back of the frog.


Maria Cello Bow – Putting a Button On It

I am starting a new commission for a cello bow from my friend and cellist Maria Fisher. Maria is relatively new to the cello and is a student of Maxine Neuman. Maxine is a teacher and performer in the New York City area and herself owns a lovely Guadagnini cello.

When I do bow commissions (especially for someone not nearby) I like to make two or three bows with wood of differing speed-of-sound and let the client choose the one that works best for them and their instrument. In this case, since I have never heard Maria’s cello, I will make three.

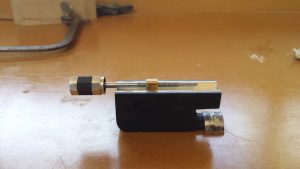
There are four main parts to a bow. The stick, the hair, the frog (which attaches to the hair near where the hand holds the stick and allows for tightening and loosening the hair), and the decorative button (which attaches to a screw that threads into the frog and moves it up and down the stick).

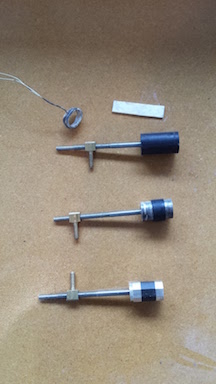
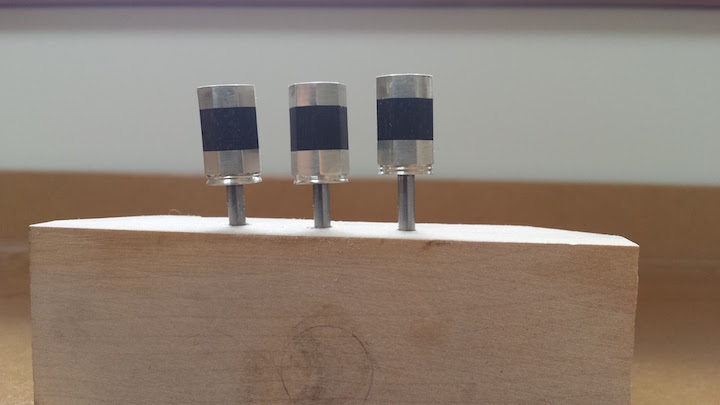
I generally start my bow projects with the buttons. I like making buttons. It involves a little bit of jewelry work and it is the only part of bow making where I use a machine (a lathe). The image below shows buttons in various stages of completion illustrating steps involved (click on it to see a larger view).

making button
Making Buttons
  1. First, I turn an ebony blank on the lathe and attach it to the screw. You can’t see them in this photo but there are recesses turned in each end. On the screw-side there is a recess to receive the little nipple I make on the end of the stick and on the other side is a recess to receive a decorative piece of shell.
  2. I next cut blanks of metal (sterling silver in this case) bend them into a roughly round shape and solder the seam (you can see the soldered piece held together by the binding wire). I then hammer them onto a round mandrel to make them perfectly round.
  3. The next step is to turn a shoulder on each end of the ebony blank to receive the rings in a nice press-fit.
  4. Next, I face each end and turn a little decorative nipple on the screw-side and glue a round piece of shell into the recess on the other side.
  5. The last step is to file facets on the button making an octagon to match the end of the stick.

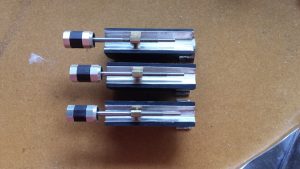
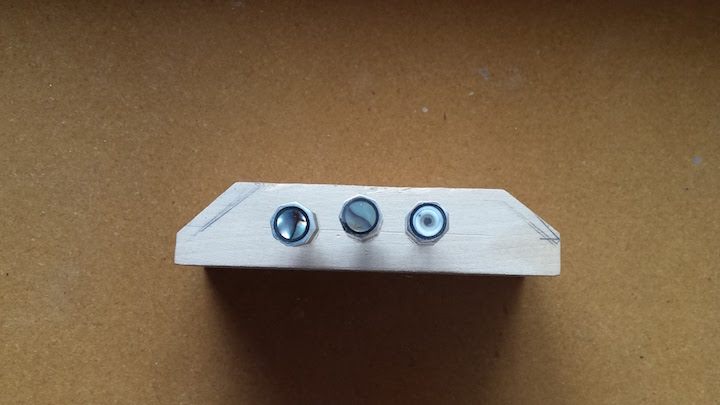
Below is an image of the finished buttons. In the top view notice the shell in the button on the right. It is traditional to use abalone shell but while on a recent kayaking trip to the Baja I found these little shell fragments on the beaches that have a perfect ionic volute structure. I thought it would be an interesting experiment to try one. I like it. We’ll see if Maria does. On to making the frogs.

Buttons Top View
Buttons Top View
Cello Buttons
Cello Buttons

“The Terry” – Happy Birthday!!!

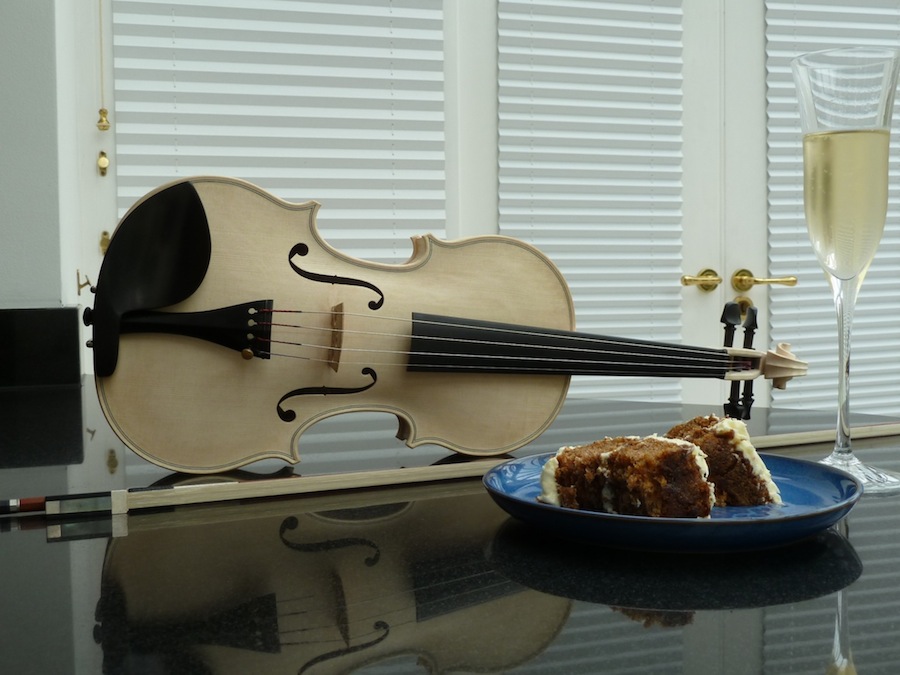
Happy Birthday to “The Terry”!!! The delivery went off without a hitch. The set-up is perfect. I didn’t even have to move the sound post (I don’t think I’ve ever done that  before). It was perfect first time. My neighbor brought over some cake for the birthday party. Coincidentally today is Terry Chang’s birthday. Happy Birthday Terry!

For those of you who have read previous birthday posts, you know that I never like the sound of the violin when it is first strung up. It usually takes hours and days for the tone to develop. Not so with “The Terry”. This is the most mature sounding violin at birth that I have ever made. It already sounds like it is a week old! Very even tone across all of the strings. It already has a deep, full D-string and a well developed G. The A-string (which usually gives me most of the adjustment problems on my instruments) is clean and pure. The E is bright without being piercing.

I am very happy with the tone of this instrument! I only wish Terry were here to enjoy it with me.