“The David” – starting a new violin

I recently received a commission for a new violin. This thread will document the process of making “The David”.

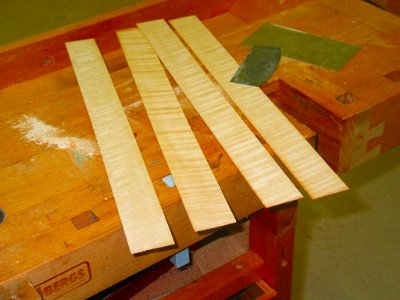
The customer requested a new violin made to my Strad pattern. Together, we went through my wood supply and picked out the wood for the instrument. The spruce is Italian  and the maple is Bosnian. Both pieces are over 10 years old. The blocks are some very straight grained Sitka spruce that I found in Canada.

The selected wood
The selected wood

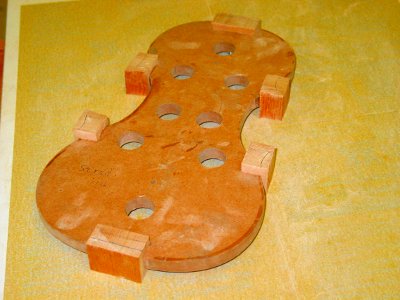
The first step is to trim the blocks to size and spot glue them to the form.

The Blocks glued to the form

The next step is to draw the outline on the blocks.

Tracing the outline on the ribs
Blocks ready to be trimmed.

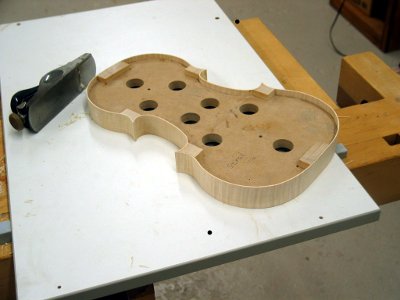
Next, we have to plane and scrape the rib material down to a thickness of about 1.2 mm.
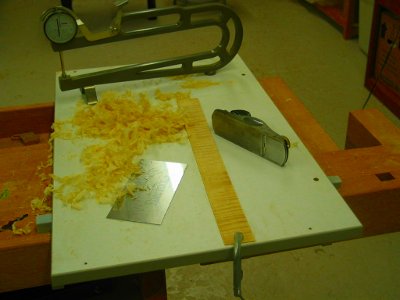
Planning and scraping ribs
finished rib material

Finally, we then trim the blocks to accept c-bout ribs, bend the ribs to shape and glue them in place.

Finished c-bout ribs

Now we trim the other blocks to accept the bent ribs.
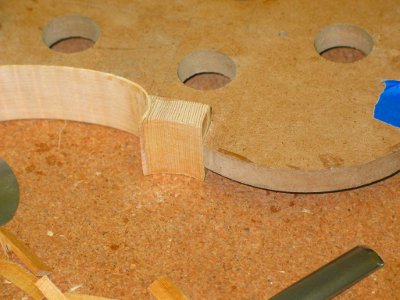
Trim the other blocks

Finally, the finished ribs.

The finished ribs
The finished ribs

“The Lyric” gets a new coat of paint

“The Lyric” was a great success. The tone is beautiful and it has great carrying power. In the hands of the owner, it is a truly wonderful sound to behold.  After much wrangling, I was able to get the instrument back for the varnish job.

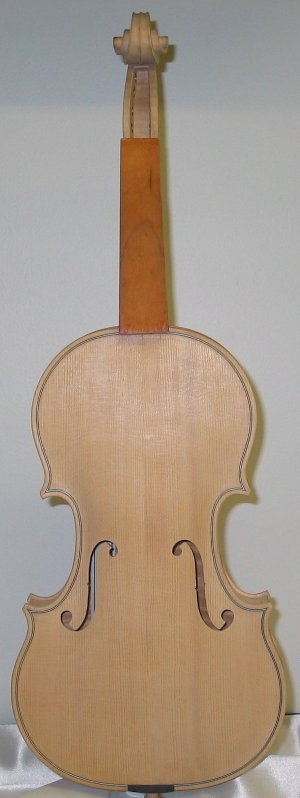
The first step is to take the setup down, remove the finger board and glue on a temporary protective board. I then scraped the instrument and took one more pass on the edge work and the chamfer on the scroll. Here it is, ready for the varnish process.

Prepared for varnishing

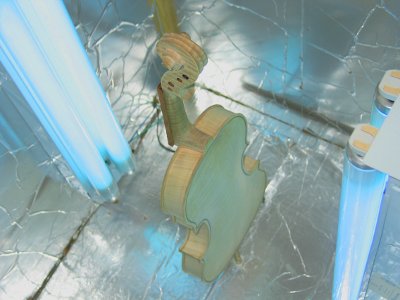
The next step in the process is to give the violin a nice suntan. I do this by placing the instrument in an ultra-violet light box and by exposing it to some morning sun. This step usually takes a week or more. Here is “The Lyric” in the light box.

"The lyric" in the light box

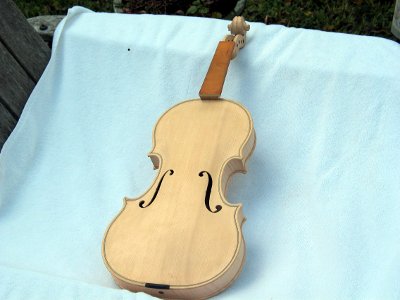
“The Lyric” gets a few rays of morning sun. Now she is ready for application of the ground.

"The Lyric" gets morning sun