Now that the purfling is installed, we proceed to finish the outside arching of the back. The arching shape has a profound impact on the final tone of the instrument. Over the years I have settled on a particular arching shape for the Strad model that I find reliably produces an instrument with exceptional tone.
The first step is to rough-in the arching using the chisel.
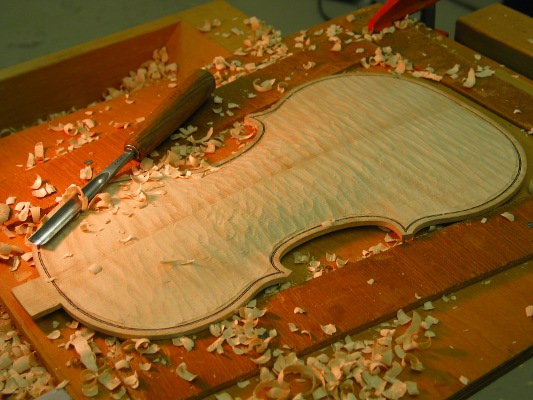
We now move to finger planes and scrapers to refine the arching.
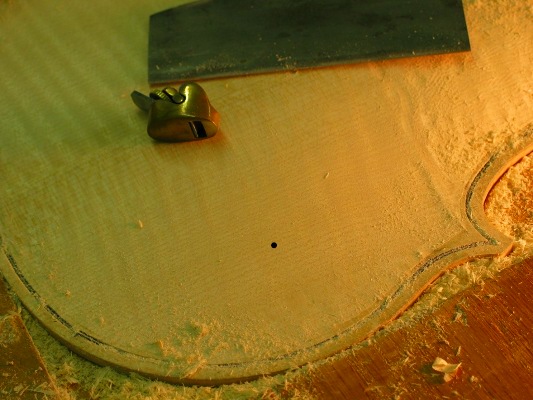
Finally, we use contour lines and scrapers to clean up irregularities in the arching shape.
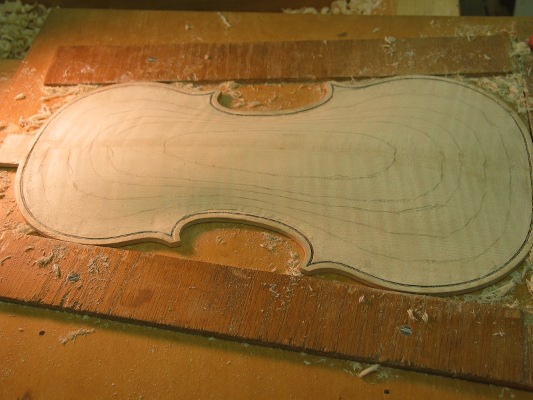
There is a .75mm channel cut all around the instrument at the purfling. The Italians call this the “sgusciatura”.
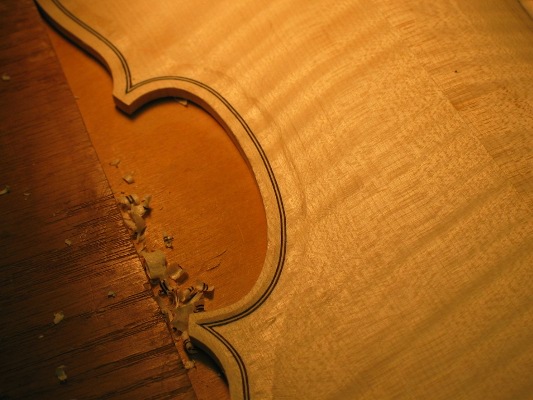
Finally, the arching needs to be brought down a bit and blended into the sgusciatura. Again, contour lines are used to identify irregularities.
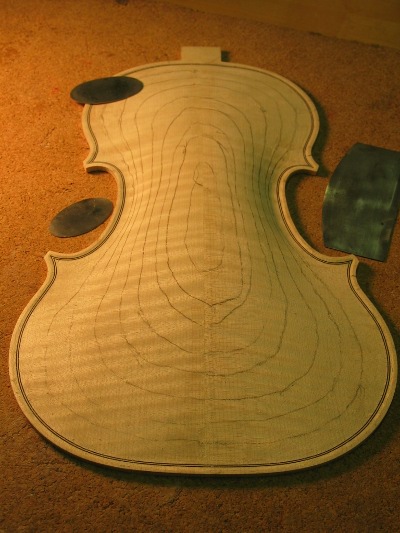
Using a low raking light, all irregularities are found and removed resulting in a perfect arching shape.
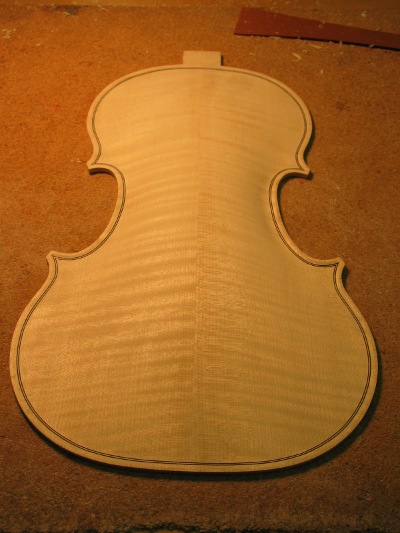
Next, we flip it over and hollow out the inside.
